Load testing is the critical part of any web application quality test to know how it behaves when the load / volume of users accessing it are high. The first step of any load testing is to select the right tools. Locust is one of those tools which is popular in testing python-based
applications. For testers who prefer a command-line interface, Locust is faster, easier to configure, and enables testing code to be easily reused between projects and different environments. Locust makes the effort to work around the limitation of resources while running the load
test by allowing you to spin up a distributed load test. Through this, we can simulate a large number of users by scaling the number of workers. To install the locust into your local system for development you can run the following
command:
$ pip install locust [you can use Anaconda command line also]For reference, you can look ahead: Locust.
Prerequisites:
1) Kubernetes
2) Concourse
3) Helm Kubernetes is a container management technology developed in Google lab to manage containerized applications in different kinds of environments such as physical, virtual, and cloud infrastructure. It is an open-source system that helps in creating and managing the containerization of applications. Helm chart is the package manager tool for Kubernetes which has the collection of files. Concourse CI is a system built with a loosely coupled microservice architecture. To manage the concourse pipeline by command-line interface we have to use fly.
Setup Locust in Kubernetes:
Add the Helm repository by the command below:
1) $ helm repo add stable https://charts.helm.sh/stable
2) $ helm repo list
Then we will get the output as one helm repo added as:

3) Create a ConfigMap with any name, here I’m calling it locust-worker-configs which holds our locust file. Since in our example we are running Odoo locusts it has multiple files and all the files in a particular folder are added to this ConfigMap which is later referenced in the locust pods (master and worker).
$ kubectl create configmap locust-worker-configs –from-file <local dir>/odoolocust -o
yaml –dry-run=client | kubectl apply -f –
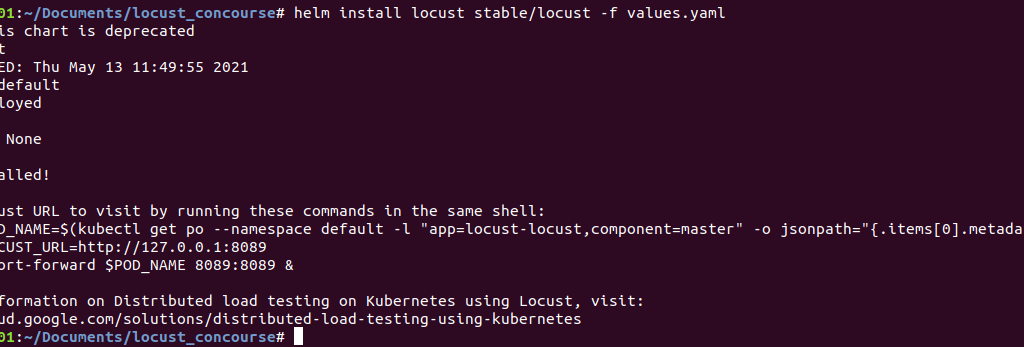
4) Install locust:
$ helm install locust stable/locust -f values.YAML
Here is the list of all configurable values. Be sure to add the ConfigMap name created earlier in the values. YAML file.
After running this command, we will have the following output:
5) Check if all the pods are up and running.
$ kubectl get pods

6) Let’s check the service created:
$ kubectl get service
7) We have one service named “locust-master-svc” created and we can expose it by port forwarding to access from local.
$ kubectl port-forward service/locust-master-svc 8089:8089
We have the locust dashboard up and running from where we can provide the number of users, spawn rate, and host.
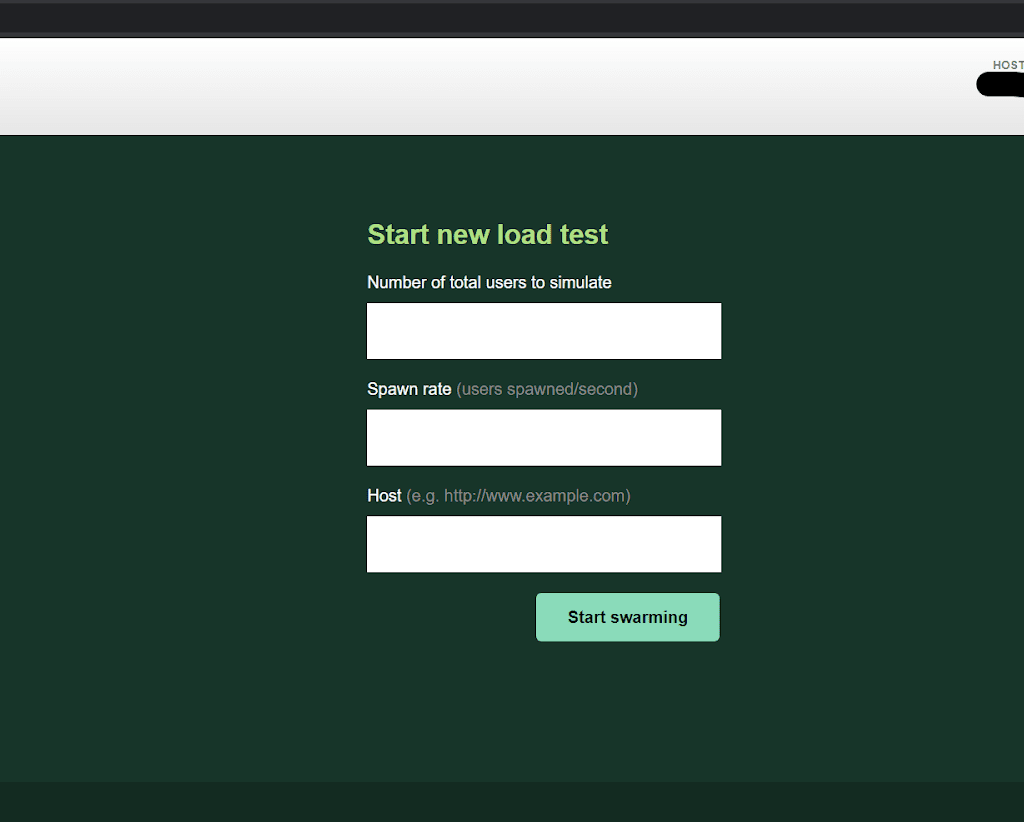
Below is the image of the load test which has three workers at a ready state and the CPU percentage metrics is mentioned:

Now we can connect to the remote locust instance and run our tests. The next steps will automate the tests and store the results in a google bucket using Concourse.
Concourse pipeline:
To create the ConfigMap and to run the pods, we have to provide the directory of our folder where all test scripts and concourse pipeline files are located. For that, check the folder structure below:
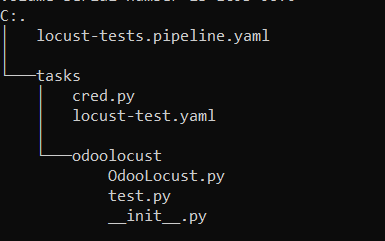
Here, we’re using pipelines as “locust-tests.pipeline.YAML”. It has two different jobs, one to update the locust scripts and the other to run the tests for a different number of users.
—
platform: Linux
groups:
– name: locust-test
jobs:
– update-locust-script
– users-50
– users-100
– users-150
– users-200
jobs:
– name: update-locust-script
plan:
– get: pipeline
trigger: true
– put: task
params:
wait_until_ready: 0
kubectl: create configmap locust-worker-configs –from-file pipeline/tasks/odoolocust/ -o yaml –dry-run=client -n | kubectl apply -f –
– name: users-50
plan:
– get: pipeline
– task: users-50
file: pipeline/tasks/locust-test.yaml
params:
user_count: 50
– name: users-100
plan:
– get: pipeline
– task: users-100
file: pipeline/tasks/locust-test.yaml
params:
user_count: 100
resource_types:
– name: kubernetes
type: docker-image
source:
repository: zlabjp/kubernetes-resource
tag: “1.17”
resources:
– name: pipeline
type: git
source:
uri:
branch:
private_key: {{git_private_key}}
– name: task
type: kubernetes
source:
server: {{cluster_url}}
namespace:
token: {{token}}
certificate_authority: ((kubernetes_ca_crt))
The pipeline
Under the task folder, we have 2 files and the Odoo locust folder has the locus file. The cred.py stated below is used in the locust-test. YAML to convert Google Cloud credentials retrieved from a secret manager into JSON file to authenticate Google Cloud to push the test results to a google bucket.
import json
f=open(‘credentials.json’)
d = f.read()
data = json.loads(d, strict=False)
with open(“cred.json”, “w”) as outfile:
json.dump(data, outfile)
cred.py
The locust-test. YAML runs the actual tests for different numbers of users as mentioned in the pipeline.
—
platform: Linux
image_resource:
type: docker-image
source:
repository: google/cloud-sdk
tag: “alpine”
params:
KUBE_CONFIG: ((kubernetes-config))
inputs:
– name: pipeline
run:
path: sh
args:
– -exc
– |
set +x
mkdir -p /root/.kube/
printf %s “${KUBE_CONFIG}” > /root/.kube/config
curl -L -s https://storage.googleapis.com/kubernetes-release/release/v1.18.6/bin/linux/amd64/kubectl -o /usr/local/bin/kubectl
chmod +x /usr/local/bin/kubectl
cd pipeline/tasks/
cat << EOF >> credentials.json
((kubernetes-bucket-storage))
EOF
python3 cred.py
export GOOGLE_APPLICATION_CREDENTIALS=cred.json
POD_NAME=$(kubectl get pods -n <namespace> | grep locust-master | awk ‘{print $1}’)
kubectl exec –stdin –tty ${POD_NAME} bash -n <namespace> << EOF
mkdir tmp
cd tmp
locust -f /mnt/locust/test.py Seller –csv=${user_count}_users –headless –run-time 30m -u ${user_count} -r ${user_count} -H <host> –only-summary
cd ..
tar -zcf users_${user_count}.tgz tmp
rm -rf tmp
EOF
kubectl cp <namespace>/${POD_NAME}:/home/locust/users_${user_count}.tgz users_${user_count}.tgz
kubectl exec –stdin –tty ${POD_NAME} bash -n <namespace> << EOF
rm users_${user_count}.tgz
EOF
gcloud auth activate-service-account –project=<google_project_id> –key-file=cred.json
gsutil mv users_${user_count}.tgz gs://locust-tests/${user_count}_users/users_${user_count}_$(date ‘+%d-%m-%YT%H:%M:%S’).tgz
Locust-test.yaml
When we trigger the jobs for 50 users it’ll run the test for the time mentioned in this line of the code where the run-time is 30 minutes.
locust -f /mnt/locust/test.py Seller –csv=${user_count}_users –headless –run-time 30m -u ${user_count} -r ${user_count} -H <host> –only-summary
Once the test is completed, it’ll push the .tgz file with the results to a google bucket named locust-tests and it has subfolders for a different number of users so that we can track the tests for different periods.
This flow can also be integrated with the deployment pipeline of the application so that it runs the test right after the deployment. Here we are using the Odoo locust script to test an Odoo application and the same procedure can be followed for any other application.
This is how we can completely automate the execution of Locust tests using Concourse.
Please get in touch for assistance with setup and use of Locust for your Performance testing needs.