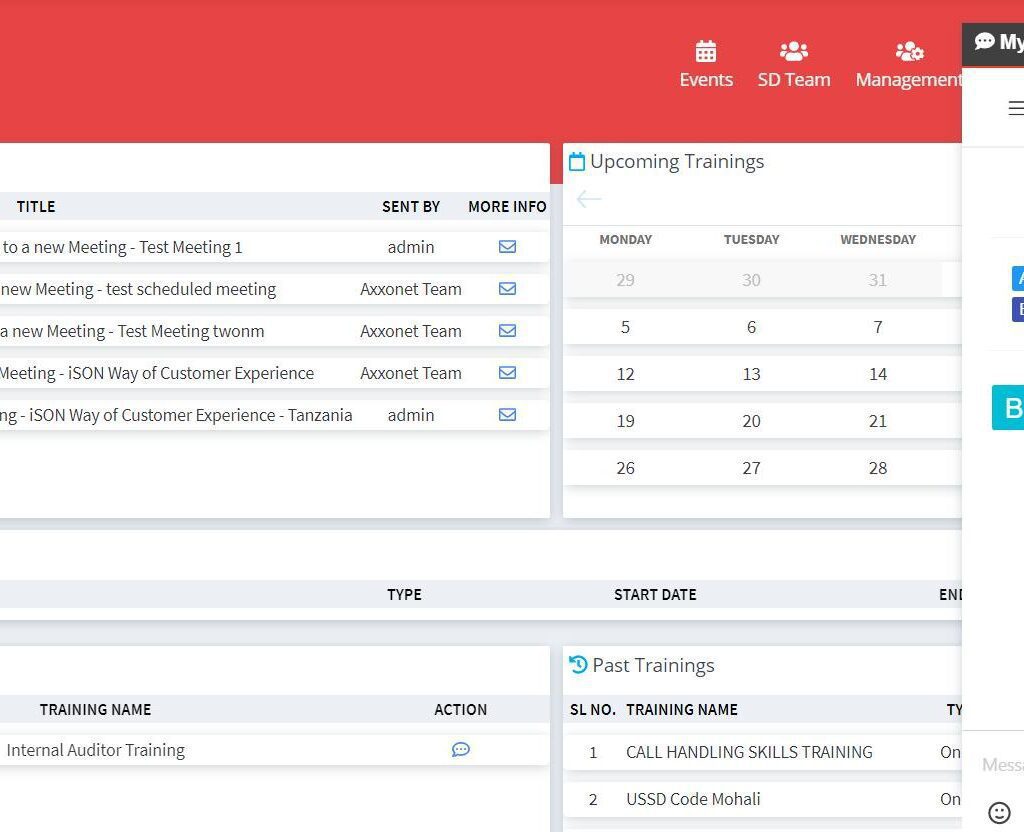
How to enable and integrate Enterprise Security with Rocket chat

Introduction to RocketChat

RocketChat is a popular open source, scalable communication platform which can work as an alternative to Slack. RocketChat aims to optimize team collaboration, DevOps and customer engagement. It connects the internal team of the organization with customers, suppliers and partners, centralizes all the communication of all projects in web applications or mobile apps. It thereby avoids missing information and ensures that business teams work better.

Being an omnichannel, RocketChat connects social media channels like Facebook, WhatsApp Corporate, Twitter, Telegram as well as websites, CRM, and support tickets. RocketChat enables you to manage conversations with stakeholders in one place and find all the data you need. It also automates and speeds up the process, thus improving your experience.

Introduction to WSO2 Server

WSO2 Identity Server acts as the identity provider with minimal configurations. It provides Single Sign-On (SSO) between multiple logged-in applications for a seamless user experience. WSO2 identity server enables federated access to web and mobile applications across multiple trust domains by using open identity standards.


Single Sign-On is a key feature of the WSO2 Server. With WSO2 users have to enter their credentials only once when accessing each application until their session is terminated.

WSO2 supports a wide array of authentication protocols including SAML, OIDC (OpenID, OAuth 2.0/1.0a) and WS-Federation.

In this article, we are going to walk you through the process of enabling SSO in Rocket.chat using the SAML protocol and WSO2 as the identity Provider. This integration is the foundation which helps embed RocketChat seamlessly into multiple applications being used in an organization. Thereby users can communicate and collaborate with each other within the context of the corresponding applications without having to open a separate application or window.

https://docs.rocket.chat/guides/administrator-guides/authentication/saml

https://martinschoeler.github.io/docs-1/administrator-guides/authentication/saml/

WSO2 Configuration Steps

  1.  Download WSO2 Identity Server and install it in your server or machine
  2.  Start the WSO2 server and login through below URL
    https://localhost:9446/ or your server URL:9446
  3.  In the Management Console, go to Main → Identity Providers → List → Resident Identity Provider → Resident 

Configuration → Inbound Authentication Configuration → SAML2 Web SSO Configuration . 

Then set “wso2” as the “Identity Provider Entity Id”

Note: if required to configure change as per your server URL

  1. Now a service provider should be created in WSO2 IS representing the “my-app” service provider. 

In the Management Console, go to Main → Identity → Service Providers → Add .  as per below image details.

Then go to Inbound Authentication Configuration → SAML2 Web SSO Configuration → Add with “my-app” and follow below image configuration

Install and Setup SimpleSAMLphp with wso2 IDP Setup

Overview

Written in the native PHP language, SimpleSAMLphp is an application concerned with authentication. Led by UNINETT, this project has garnered a large user base. Several external contributors and helpful community members have also joined the user base.

SimpleSAMLphp provides support for the following:

  • SAML 2.0 as a Service Provider (SP)
  • SAML 2.0 as an Identity Provider (IdP)

Configuration Steps

Note: Ignore this If already simplesamlphp setup has done

1. Download the “simplesamlphp” from https://simplesamlphp.org/ and extract to

/path_directory/simplesamlphp

2. Setup the the /simplesaml url access to simplesamlphp access in apache
For example using XAMPP:
Alias /simplesaml “path_directory/simplesamlphp/www”

<Directory “path_directory/simplesamlphp/www”>

        AllowOverride AuthConfig

        Require all granted

</Directory>

3. Configure the “config.php” in the directory “simplesamlphp/config/” and change the DATA STORE CONFIGURATION as per your DB Details  then save

Shown below

4. If require configure SAML2 service provider (with service provider name, “wso2-sp”) from below file

/home/simplesamlphp/config/authsources.php as follows.

5. Configure the IDP configurations in /home/maninda/simplesamlphp-1.11.0/metadata/saml20-idp-remote.php as

follows. 

Note: To get certData Certificate ( Go to your wso2 console Resident Identity Provider → Resident 

Configuration → Inbound Authentication Configuration → SAML2 Web SSO Configuration then download metadata then open it and copy the certificate).

6. Now check wso2-sp with simplesamlphp 

Then click on ‘Test Configuration’ as we have configured will see wso2-sp

RocketChat SAML Configurations 
Rocket Chat Configuration Steps 

1. Go to administrator then click on SAML and follow the below image to configuration

Note: To get Custom and Public Certificate ( Go to your wso2 console Resident Identity Provider → Resident 

Configuration → Inbound Authentication Configuration → SAML2 Web SSO Configuration then download metadata then open it and copy the certificate).

1. Generate Private Key Certificate by an openssl-command

-newkey rsa:3072 -new -x509 -days 3652 -nodes -out example.org.crt -keyout example.org.pem

2. Enter into Rocket chat SAML Private Key Content as see in below Image

1. Follow other configurations as shown in below Images.

After completing the above configuration settings, Users can login in any of the applications once and they would be Signed on in RocketChat as well and they can communicate with other team members.

In the next set of articles, we will talk about how we can extend this to also enable Chat Bot based interactions with RocketChat.

Subscribe
Notify of
guest
0 Comments
Inline Feedbacks
View all comments
0
Would love your thoughts, please comment.x
()
x